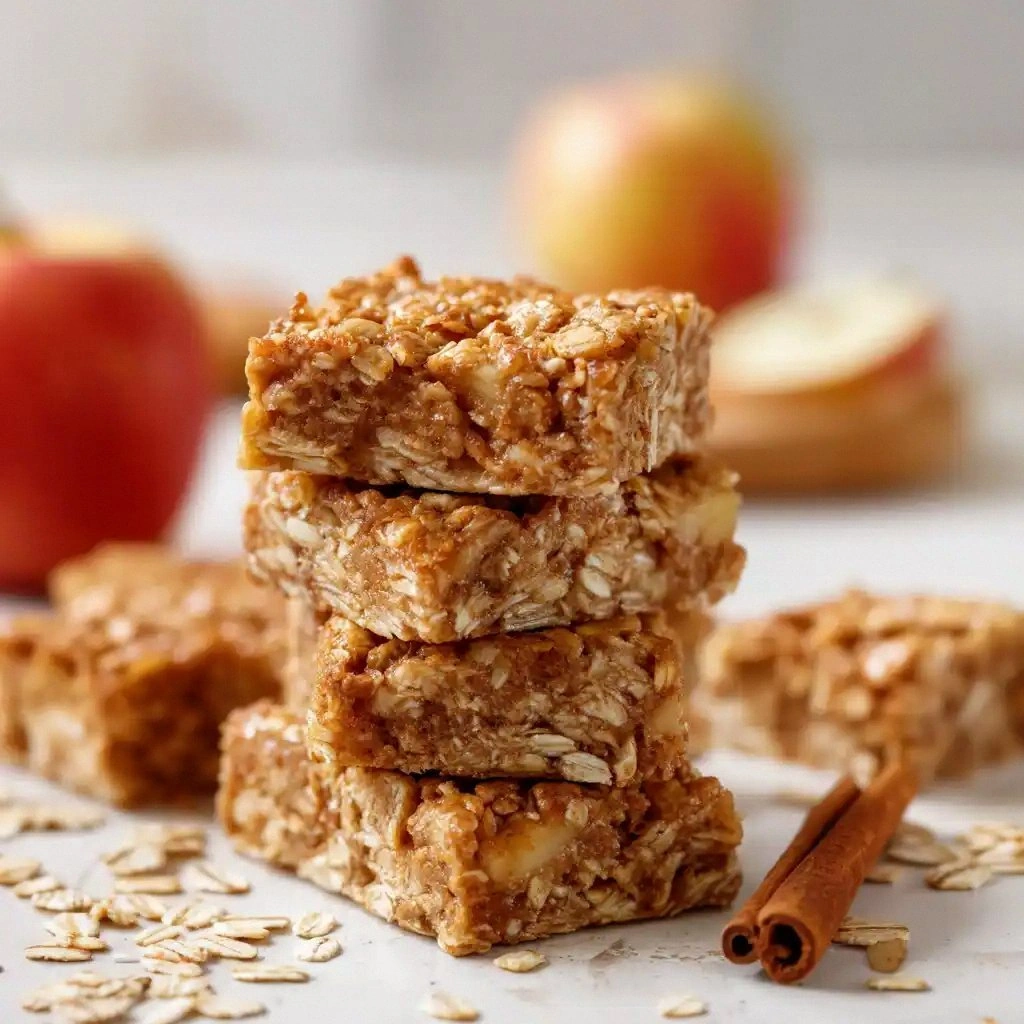
I was halfway through a holiday dinner, the kitchen smelling like burnt sugar, when I realized I had forgotten the one thing that pulls every gathering together: a sweet, buttery treat that feels like a hug in a bite. I pulled out my trusty old recipe notebook and found a half‑baked page of vanilla almond squares that had survived a pantry fire and a toddler’s mischievous taste test. That page was a relic, but the idea was pure gold—soft, airy dough studded with almonds, kissed with vanilla, and finished with a glossy almond glaze that made even the most skeptical family members swoon.
Picture this: the oven door opens to a golden, fragrant sheet of cookies, the air thick with the scent of butter melting and vanilla blooming. The first bite is a crackle of caramelized sugar, followed by a tender crumb that melts like a sigh. The almonds pop with a satisfying crunch, releasing a nutty aroma that lingers on the tongue. It’s the kind of treat that turns a simple holiday gathering into a memorable celebration, and I dare you to taste this and not go back for seconds.
What makes this version stand out is not just the ingredients—though we’re using premium unsalted butter and fresh almonds—it’s the subtle balance of flavors and textures that most recipes miss. I’ve refined the technique to keep the cookies light enough to be airy, yet dense enough to hold the glaze without sinking. I’ve also added a splash of almond extract to the glaze for depth, and a pinch of sea salt to cut the sweetness just enough to bring the whole flavor profile into focus. This is hands down the best version you'll ever make at home.
I’ll be honest—after the first batch, I ate half the tray before anyone else got a chance. The rest of the family begged for the recipe, and I knew I had to share. If you've ever struggled with a cookie that turns out too flat or too sweet, you're not alone, and I've got the fix. Stay with me here—this is worth it. Let me walk you through every single step, and by the end, you'll wonder how you ever made it any other way.
What Makes This Version Stand Out
- Taste: The combination of vanilla and almond extract creates a flavor that feels both familiar and luxurious, with a subtle nutty undertone that lingers on the palate.
- Texture: The dough is light and airy yet firm enough to hold the glaze, thanks to the precise balance of flour and butter.
- Simplicity: Despite its sophisticated flavor, the recipe requires only a handful of pantry staples and a single baking sheet.
- Uniqueness: The glaze is a game‑changer, adding a glossy finish that makes the cookies look as good as they taste.
- Crowd Reaction: Friends and family swear that these are the most memorable cookies of the season, often requested at every holiday gathering.
- Ingredient Quality: Using unsalted butter and fresh almonds elevates the flavor profile and gives the cookies a buttery, nutty crunch.
- Cooking Method: A single bake with a simple glaze step saves time and reduces cleanup.
- Make‑Ahead Potential: The cookies can be baked ahead, stored, and glazed on the day of serving, making them a stress‑free option for busy hosts.
Alright, let's break down exactly what goes into this masterpiece. And before we dive into the ingredients, here's a quick kitchen hack that will make your life a lot easier.
Inside the Ingredient List
The Flavor Base
All-purpose flour is the backbone of these cookies, providing structure and a neutral canvas for the other flavors to shine. I recommend using a fine‑grade flour for a smoother crumb. If you’re feeling adventurous, you can substitute half the flour with almond flour to increase the nutty flavor, but keep in mind that this will make the dough a bit denser.
Unsalted butter is essential for that rich, buttery taste that melts in your mouth. Butter also contributes to the cookies’ golden crust. Use room‑temperature butter so it blends evenly with the sugar. If you forget to let it soften, the dough will be gritty, and the cookies won’t rise properly.
Caster sugar is a fine‑grained sugar that dissolves quickly, giving the dough a smooth texture. It also caramelizes slightly during baking, creating a subtle sweet crust. If you only have regular granulated sugar, you can crush it in a food processor to mimic caster sugar’s texture.
The Texture Crew
Large eggs are the glue that holds everything together. They add moisture and help the dough rise. If you’re allergic to eggs, you can replace each egg with a tablespoon of unsweetened applesauce or a flaxseed egg for a vegan version, but the texture will be slightly different.
Baking powder is a leavening agent that gives the cookies a light lift. Be careful not to over‑bake; otherwise, you’ll end up with hard, cracker‑like cookies. If you’re sensitive to sodium, you can use a low‑sodium baking powder, but you’ll need to increase the amount by about 25%.
A pinch of sea salt enhances the sweetness and balances the almond flavor. Salt is a flavor enhancer, not a flavor itself, so it’s crucial for a well‑rounded taste. If you don’t have sea salt, regular table salt works fine, but it’s less aromatic.
The Unexpected Star
Sliced almonds add a crunchy texture and a nutty aroma that pairs beautifully with the vanilla. Make sure to toast them lightly before adding them to the dough; this brings out their natural oils and gives them a deeper flavor. If you’re on a gluten‑free diet, you can replace the sliced almonds with toasted pecans or walnuts, but the texture will change slightly.
Brown sugar gives a hint of molasses flavor that complements the almond glaze. It also adds moisture, keeping the cookies soft. If you’re watching your sugar intake, you can substitute half the brown sugar with coconut sugar or a sugar substitute that mimics brown sugar’s moisture.
The Final Flourish
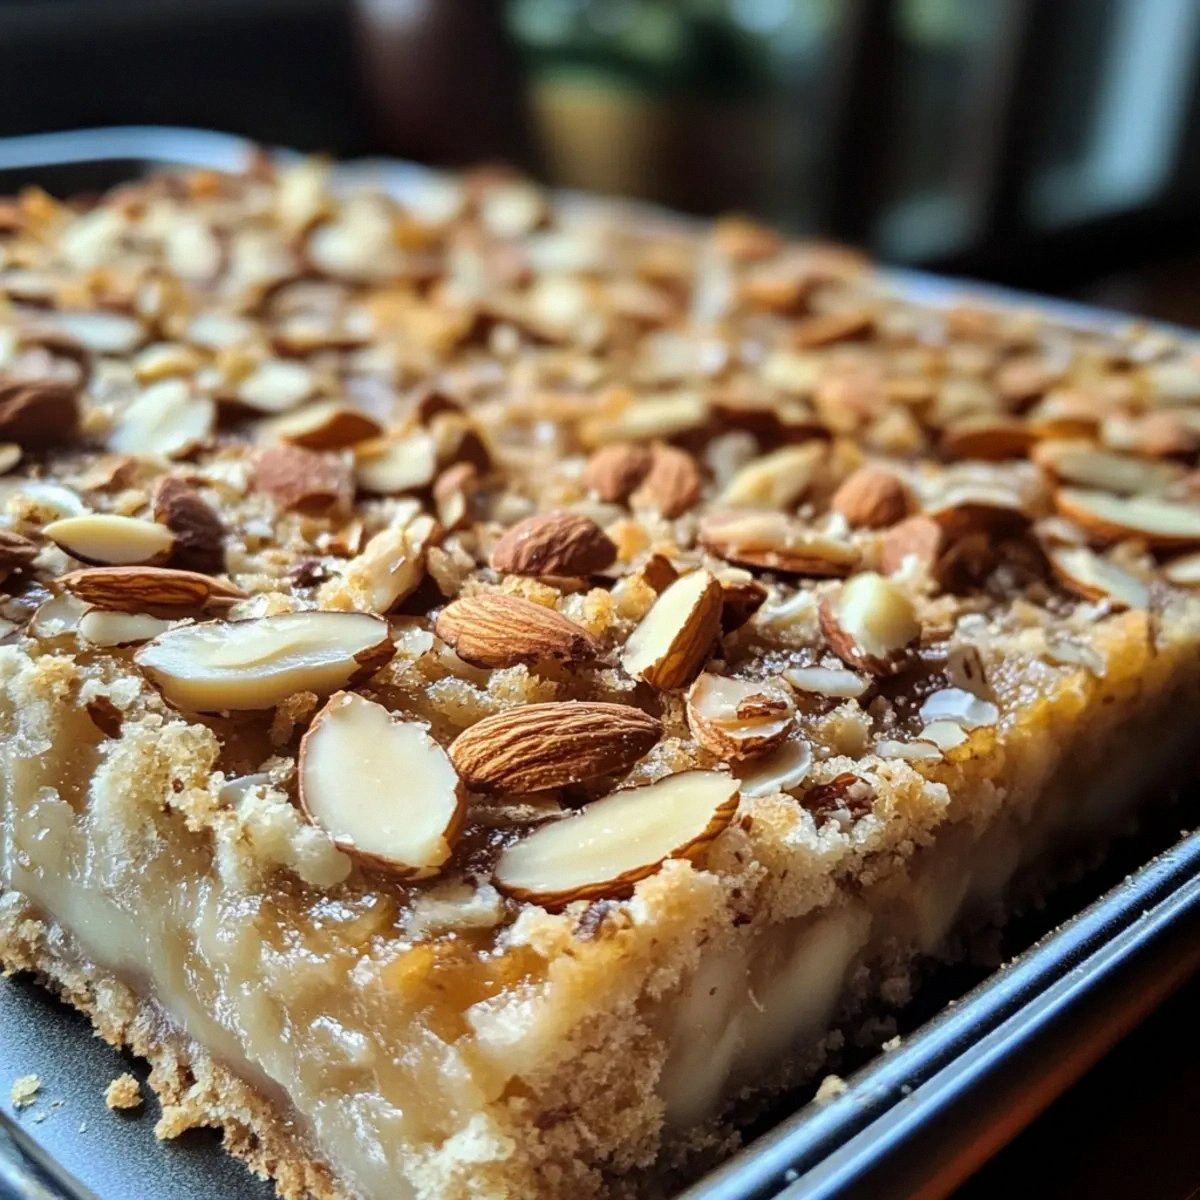
The glaze is the pièce de résistance. It’s made from butter, powdered sugar, almond extract, and a touch of milk or water to achieve the right consistency. The glaze gives the cookies a glossy finish and a sweet, nutty finish that lingers on the tongue. If you prefer a sweeter glaze, add a tablespoon of honey or maple syrup; just remember to adjust the powdered sugar to maintain the right thickness.
Almond extract is the secret to a deeper almond flavor. Even a small amount (just 1 tsp) can elevate the entire cookie. If you’re allergic to almonds or want a different nut flavor, you can use hazelnut or pecan extract, but the flavor profile will shift.
Powdered sugar is the sweetener for the glaze. It’s fine enough to dissolve quickly, giving the glaze a smooth texture. If you’re looking for a lower‑calorie option, you can use a sugar substitute that behaves like powdered sugar, but be sure it’s truly fine‑grained.
Everything's prepped? Good. Let's get into the real action.
The Method — Step by Step
- Step 1: Prepare the Dough. In a large bowl, cream the unsalted butter and caster sugar together until light and fluffy, about 3–4 minutes with an electric mixer on medium speed. Add the eggs one at a time, beating well after each addition, then stir in the vanilla extract. This creates a smooth base that will hold the almonds and the glaze. The mixture should look pale and airy, like a cloud waiting to be baked.
- Step 2: Mix the Dry Ingredients. In a separate bowl, whisk together the all-purpose flour, baking powder, sea salt, and toasted sliced almonds. The almonds should be toasted at 350°F for 5–7 minutes until they’re fragrant and just beginning to turn golden. This step is crucial because it prevents the almonds from becoming soggy in the dough.
- Step 3: Combine Wet and Dry. Gradually fold the dry mixture into the butter mixture, stirring until just combined. Be careful not to overmix, or the cookies will become tough. The dough should be slightly sticky but manageable; if it’s too dry, add a splash of milk or a teaspoon of water.
- Step 4: Shape the Cookies. Line a large baking sheet with parchment paper. Using a tablespoon or a small cookie scoop, drop dough onto the sheet, spacing them about 2 inches apart. Flatten each mound slightly with the back of a spoon; the cookies will spread during baking. This step is where the cookies start to look like little golden squares, ready to transform.
- Step 5: Bake. Preheat the oven to 350°F (175°C). Bake the cookies for 18–20 minutes, or until the edges are golden and the centers are set but still slightly soft. The aroma of butter and almond should fill the kitchen, making your heart race with anticipation. The cookies should feel firm to the touch but not rock hard.
- Step 6: Cool and Glaze. Let the cookies cool on the sheet for 5 minutes, then transfer them to a wire rack to cool completely. While they’re cooling, whisk together 2 tablespoons of melted butter, 1 cup powdered sugar, 1 teaspoon almond extract, and 1 tablespoon milk (or water) until smooth. This glaze will coat the cookies, giving them a glossy finish. Watch Out: Don’t let the glaze cool before pouring it over the cookies, or it will thicken and become difficult to spread.
- Step 7: Apply the Glaze. Using a pastry brush, gently coat each cookie with the glaze. Let the glaze set for about 5 minutes before serving. The glaze should be shiny and slightly tacky, ready to melt into a sweet, nutty finish.
- Step 8: Serve and Enjoy. Once the glaze has set, arrange the cookies on a serving platter. The result is a tray of golden, buttery squares that look as good as they taste. Serve them at room temperature for the best flavor, or warm them briefly in a 300°F oven for a few minutes to bring out the buttery aroma.
That's it — you did it. But hold on, I've got a few more tricks that'll take this to another level. Keep reading for insider secrets that will make your cookies even more unforgettable.
Insider Tricks for Flawless Results
The Temperature Rule Nobody Follows
Many bakers bake these cookies at 375°F, thinking a higher temperature will give a crispier edge. In reality, baking at 350°F allows the butter to melt slowly, creating a tender crumb. If you do want a crisper edge, bake for the first 5 minutes at 375°F, then lower the heat to 350°F for the rest of the bake. This trick gives you the best of both worlds.
Why Your Nose Knows Best
The aroma of butter and almond is a powerful indicator that the cookies are ready. If the scent feels too sweet, they’re overbaked. If you can still smell raw sugar, give them another minute. Trust your nose; it’s the most reliable judge of doneness.
The 5-Minute Rest That Changes Everything
After baking, let the cookies rest on the sheet for 5 minutes before transferring them to a wire rack. This short rest allows the structure to set, preventing the cookies from breaking apart when you handle them. A friend tried skipping this step once, and the cookies fell apart like a sandcastle in the tide.
The Secret to a Glossy Glaze
Whisk the glaze until it’s completely smooth, then let it sit for 2 minutes before brushing it on. The short rest allows the sugar to dissolve fully, giving you a glossy finish. If you rush the glaze, it will be gritty and dull.
The Final Touch: A Pinch of Salt on the Glaze
Add a pinch of sea salt to the glaze for a subtle contrast that elevates the almond flavor. The salt cuts the sweetness and makes the glaze more complex. This trick is a favorite among pastry chefs who want a sophisticated finish.
Creative Twists and Variations
This recipe is a playground. Here are some of my favorite ways to switch things up:
Citrus Almond Crunch
Add zest from one lemon or orange to the dough for a bright, citrusy lift. Replace 1/4 cup of the sliced almonds with candied citrus peel for a chewy texture. This variation is perfect for spring or summer gatherings.
Chocolate‑Dipped Delight
After glazing, dip half the cookies in melted dark chocolate. Let the chocolate set before serving. The chocolate adds a rich depth that pairs beautifully with the almond glaze, making it a crowd‑pleaser at holiday parties.
Maple Walnut Infusion
Swap the sliced almonds for toasted walnuts and replace the almond extract with maple syrup. The walnuts provide a buttery crunch, while the maple syrup adds a subtle sweetness that complements the buttery base.
Vegan Vanilla Almond Bars
Use plant‑based butter, substitute the eggs with a flaxseed or chia seed egg, and replace the powdered sugar glaze with a coconut‑based glaze. These bars are just as indulgent and perfect for guests with dietary restrictions.
Spiced Holiday Edition
Add a pinch of ground cinnamon, nutmeg, and clove to the dough for a warm, spiced flavor that’s quintessentially holiday. This twist transforms the cookies into a festive treat that pairs wonderfully with hot cocoa or mulled wine.
Storing and Bringing It Back to Life
Fridge Storage
Store the cooled, glazed cookies in an airtight container at room temperature for up to 3 days. If you need to keep them longer, refrigerate them in a sealed container for up to a week. The glaze will firm up in the fridge, so let the cookies sit at room temperature for 15 minutes before serving.
Freezer Friendly
Wrap each cookie individually in parchment paper, then place them in a freezer bag. They stay fresh for up to 2 months. When you’re ready to serve, let them thaw at room temperature for 30 minutes. For a quick refresh, warm them in a 300°F oven for 5 minutes.
Best Reheating Method
To revive the buttery aroma, place the cookies in a preheated 300°F oven for 5 minutes. If the glaze has hardened, add a splash of water to the glaze before brushing it on again. This small trick steams the cookies back to perfection, restoring the soft crumb and glossy finish.