
A velvety chocolate pudding nestled in a buttery crust, crowned with clouds of sweet whipped cream.

When I was ten, my grandmother’s kitchen smelled like a chocolate wonderland every Sunday afternoon. She would pull out a battered tin, melt dark chocolate over a gentle flame, and whisk together a silky pudding that seemed to melt on the tongue. I remember the anticipation as the aroma curled around the kitchen, promising something indulgent yet comforting. That memory sparked a lifelong love affair with chocolate desserts, and today I’m thrilled to share a modern twist on that classic: Chocolate Pudding Pie with Whipped Cream.
This pie bridges the gap between a nostalgic pudding and a sophisticated tart. The crisp graham‑cracker crust offers a buttery crunch that contrasts beautifully with the smooth, rich chocolate filling. Topped with a light, airy whipped cream, each bite delivers layers of texture and flavor that feel both familiar and exciting.
In this guide, you’ll learn how to create a perfectly set chocolate pudding without the need for a custard machine, why the ratio of chocolate to milk matters, and how to achieve a whipped cream that holds its peaks without becoming grainy. By the end, you’ll have a show‑stopping dessert that’s ready for any celebration, from a casual family dinner to a formal dinner party.
Let’s dive in, gather the ingredients, and bring this chocolate masterpiece to life!
🌟 Why This Recipe Will Captivate You
Chocolate pudding pie is the ultimate comfort dessert that feels luxurious yet approachable, making it perfect for both seasoned bakers and newcomers alike.
- ✨ Irresistible Texture: The combination of a crunchy crust, silky pudding, and fluffy whipped cream creates a multi‑dimensional mouthfeel that keeps you reaching for another slice.
- ✨ Simple Ingredient List: With pantry staples like graham crackers, cocoa, and heavy cream, you won’t need a specialty store run to assemble this dessert.
- ✨ No Fancy Equipment Required: All steps can be completed with a saucepan, mixing bowls, and a hand whisk – perfect for home kitchens.
- ✨ Versatile Serving Options: Serve it chilled for a refreshing treat, or warm it slightly for a comforting winter dessert; it adapts to any season.
- ✨ Crowd‑Pleaser: The deep chocolate flavor satisfies sweet cravings, while the light cream balances richness, making it a hit with kids and adults.
- ✨ Customizable Flavors: Add a pinch of espresso, a dash of orange zest, or a swirl of caramel for personalized twists without altering the core technique.
🥗 Ingredients
📝 Complete Ingredient List
For the Crust:
For the Chocolate Pudding Filling:
For the Whipped Cream Topping:

🔍 Focus on Key Ingredients
Dark Chocolate (70% Cocoa)
The dark chocolate provides depth, a slight bitterness, and a glossy finish to the pudding. Choose a bar with at least 70% cocoa for a balance of flavor and meltability. If you prefer a sweeter profile, a 60% bar works, but the pudding may be less intense.
Whole Milk
Whole milk contributes richness and a creamy mouthfeel. Skim milk can be used for a lighter version, but it will affect the body of the pudding, making it slightly thinner.
Cornstarch
Cornstarch is the thickening hero, creating a custard‑like consistency without the need for gelatin. It must be fully dissolved in the cold milk before heating to avoid lumps.
🔄 Quick Substitutions
| If you don’t have... | Use instead... |
|---|---|
| Graham crackers | Digestive biscuits |
| Unsalted butter | Regular salted butter (reduce added salt) |
| Dark chocolate | Semi‑sweet chocolate (60% cocoa) |
👨🍳 Step‑by‑Step Instructions
Follow these detailed steps to build a flawless chocolate pudding pie, from crust to topping.
📋 Phase 1: Preparation & Mise en Place
Gather all ingredients, pre‑heat the oven, and prep your tools.
Preheat the oven
Set your oven to 180°C (350°F) and place a rack in the middle. This temperature ensures the crust browns evenly without burning.
Combine crust ingredients
In a large bowl, whisk together the graham cracker crumbs, melted butter, and granulated sugar until the mixture resembles wet sand. Press the mixture firmly into the bottom and up the sides of a 23‑cm (9‑inch) springform pan, creating an even layer.
🔥 Phase 2: Baking the Crust & Cooking the Filling
First bake the crust, then create the silky chocolate pudding.
Bake the crust
Place the pan on a baking sheet and bake for 10‑12 minutes, or until the crust turns a light golden brown. Remove from the oven and let cool while you prepare the filling.
Heat milk and chocolate
In a medium saucepan, combine the whole milk and chopped dark chocolate. Heat over medium‑low, stirring constantly, until the chocolate fully melts and the mixture is smooth. Remove from heat.
Thicken the pudding
In a separate bowl, whisk together sugar, cornstarch, and egg yolks until pale and thick. Gradually pour the hot chocolate‑milk mixture into the egg mixture, whisking continuously to temper the eggs. Return the combined mixture to the saucepan and cook over medium heat, stirring constantly, until it thickens and begins to bubble (about 3‑4 minutes). Remove from heat and stir in vanilla and a pinch of salt.
✨ Phase 3: Assembly, Finishing, and Serving
Cool the filling, whip the cream, and bring everything together.
Cool the pudding
Transfer the hot pudding onto the baked crust, spreading it evenly with a spatula. Cover the surface with plastic wrap directly on the pudding to prevent a skin from forming. Refrigerate for at least 2 hours, or until fully set.
Whip the cream
In a chilled mixing bowl, combine the heavy cream, powdered sugar, and vanilla extract. Using a hand whisk or electric mixer, whip on medium speed until soft peaks form (about 2‑3 minutes). Be careful not to over‑whip, or the cream will turn buttery.
Pipe or spread the whipped cream
Once the pudding is set, pipe a generous swirl of whipped cream around the edge of the pie or simply spread it with a spatula. For a decorative touch, grate a small amount of dark chocolate over the top.
Garnish and serve
Slice the pie with a hot knife (dip the blade in hot water and wipe dry) for clean cuts. Serve chilled, optionally accompanied by fresh berries or a drizzle of caramel sauce.
💡 Expert Tips & Tricks
🛒 Choosing the Right Ingredients
Opt for high‑quality dark chocolate with a cocoa content of 70% or higher; it delivers a deep, nuanced flavor without excessive sweetness. When selecting graham crackers, look for those with a subtle honey note, which adds a pleasant undertone to the crust. Fresh, cold heavy cream whips better and holds peaks longer. Finally, always use unsalted butter so you can control the final salt balance in the crust.
🔪 Preparation Techniques
Before mixing, sift the cornstarch to avoid clumps. Tempering the egg yolks with the hot chocolate mixture prevents curdling and creates a smooth texture. When pressing the crust, use the bottom of a measuring cup to achieve an even, compact layer that won’t crumble when sliced.
🌡️ Mastering the Cooking Process
Maintain medium‑low heat while melting chocolate to prevent scorching. Stir constantly with a silicone spatula to keep the mixture uniform. The pudding is ready when it coats the back of a spoon and forms a clear line when you run your finger through it. Over‑cooking will make the pudding grainy.
🍽️ Presentation & Service
For a polished look, chill the pie on a wire rack to keep the bottom crust crisp. Use a hot, damp knife for clean slices, wiping the blade after each cut. Add a garnish of fresh raspberries, a dusting of cocoa powder, or a drizzle of salted caramel to elevate the visual appeal.
🏆 Pro Secrets
These insider techniques separate a good dessert from a restaurant‑quality masterpiece.
- 🎯 Temperature Control: Chocolate sets perfectly when the pudding reaches 82°C (180°F). Using an instant‑read thermometer ensures you stop cooking at the precise moment, preserving a glossy sheen.
- 🎯 Layered Flavor Development: Toast the graham cracker crumbs lightly before mixing with butter. This adds a nutty depth that complements the chocolate’s bitterness.
- 🎯 Whipped Cream Stability: Add a tiny pinch of cream of tartar (≈0.2 g) to the cream before whipping. It stabilizes the foam, allowing the whipped topping to stay airy for longer periods.
- 🎯 Chocolate Shaving Finish: Use a vegetable peeler on a block of tempered dark chocolate to create fine shavings. Sprinkle just before serving for an elegant, melt‑in‑your‑mouth texture.
- 🎯 Portion Scaling Accuracy: The built‑in portion adjuster recalculates each ingredient based on the desired servings, ensuring perfect ratios whether you serve 4 or 12 guests.
- 🎯 Aroma Enhancement: Lightly zest an orange peel into the pudding while it’s cooling. The citrus oils lift the chocolate aroma without overpowering the flavor.
"Chocolate is a perfect food, as wholesome as it is delightful." — James Beard
🔄 Variations & Adaptations
This chocolate pudding pie is a versatile canvas for creative twists, dietary needs, and seasonal inspirations.
🥬 Vegetarian / Vegan Version
Swap the dairy components for plant‑based alternatives while preserving texture and flavor.
- Use coconut cream (full‑fat) instead of heavy cream for the topping; chill it thoroughly before whipping.
- Replace whole milk with oat milk and use a vegan dark chocolate (dairy‑free) for the filling.
- Substitute the egg yolks with 2 tablespoons of silken tofu blended smooth, which provides richness without altering the set.
🌶️ Flavor Variations
Explore different taste directions by incorporating complementary spices and extracts.
Spicy Mexican Twist
Add ½ tsp of ground cayenne pepper and a pinch of smoked paprika to the pudding mixture. Finish with a drizzle of chocolate‑chili ganache for a subtle heat.
Mediterranean Citrus
Infuse the milk with a strip of orange zest and a splash of Grand Marnier before adding chocolate. Garnish with candied orange peel for a bright contrast.
Asian Matcha Fusion
Stir 1 tsp of high‑quality matcha powder into the whipped cream, creating a green‑gold contrast. Sprinkle toasted sesame seeds on top for texture.
⚠️ Dietary Adaptations
Gluten‑Free
Replace graham crackers with gluten‑free oat biscuits or almond flour mixed with a little honey for the crust.
Lactose‑Free
Swap whole milk for lactose‑free cow’s milk or almond milk, and use coconut cream for the topping. Ensure the chocolate is dairy‑free.
Low‑Calorie
Reduce sugar in the filling by 30 g and use a reduced‑fat milk (1%). Substitute part of the heavy cream with Greek yogurt (plain, low‑fat) for the topping.
👶 Kid‑Friendly Version
For younger palates, lower the cocoa percentage to 55% and add a swirl of caramel or strawberry puree on top. Serve in bite‑size mini pies using a muffin tin for fun, portion‑controlled treats.
📦 Storage & Reheating
🧊 Conservation
Refrigerator:
- Duration: 4 days
- Recommended container: airtight glass or plastic pie dish
- Tip: Place a sheet of parchment between the crust and the filling to prevent sogginess.
Freezer:
- Duration: 2 months
- Method: Freeze the fully assembled, unwhipped‑cream pie wrapped tightly in cling film, then a second layer of foil.
- Defrosting: Transfer to the refrigerator overnight; add fresh whipped cream after thawing.
💡 For best texture, consume within the first week; the crust may lose crispness after prolonged storage.
♨️ Reheating
🔥 Oven (Recommended):
- Preheat to 160°C (325°F).
- Cover the pie loosely with aluminum foil.
- Heat for 10‑12 minutes.
- Remove foil and heat an additional 3‑4 minutes to restore a slight crust crispness.
⚡ Microwave (Quick):
- Place a slice on a microwave‑safe plate.
- Cover with a microwave‑safe lid or parchment.
- Heat at medium power for 30‑45 seconds.
- Check and stir gently if the center feels cold.
🍳 Stovetop:
For individual slices, warm gently in a non‑stick skillet over low heat, covered, for 2‑3 minutes; this revives the crust without drying out the filling.
🍷 Perfect Pairings
🥗 Side Dishes
- Fresh Berry Medley: A mix of raspberries, strawberries, and blueberries adds acidity and bright color.
- Caramelized Banana Slices: The natural sweetness complements the chocolate richness.
- Light Citrus Salad: A salad of orange segments, mint, and a drizzle of honey balances the heaviness.
🍷 Wine & Beverage Matches
- Ruby Port: Its sweet, fortified profile mirrors the chocolate depth.
- Late Harvest Riesling: The honeyed notes contrast the bitterness of dark chocolate.
- Non‑Alcoholic: Sparkling pomegranate juice adds a festive fizz without overwhelming the palate.
🍰 Complementary Courses
Begin with a light citrus‑infused starter such as a lemon‑thyme soup, follow the pie with a palate‑cleansing sorbet (e.g., mango or lime), and finish with a coffee‑based digestif like an espresso martini to echo the chocolate notes.
❓ Frequently Asked Questions
Q: Can I use a different type of crust?
A: Absolutely! A shortbread crust, almond flour crust, or even a chocolate cookie crust works well. Just ensure the crust is pressed firmly and baked until lightly golden to provide a sturdy base for the pudding.
Q: How do I know when the pudding is fully set?
A: After chilling, the pudding should feel firm to the touch and not wobble when you gently shake the pan. If you tap the surface, it should give a slight give but not liquid‑like movement. The texture should be smooth and glossy.
Q: My whipped cream turned grainy – why?
A: Grainy whipped cream usually results from over‑whipping or using cream that isn’t cold enough. Keep the bowl and whisk chilled, whip until soft peaks form, and stop immediately. Adding a pinch of cream of tartar helps stabilize the foam.
Q: Can I make this pie ahead of time?
A: Yes. Assemble the crust and pudding up to 24 hours in advance and keep refrigerated. Add the whipped cream just before serving to maintain its airy texture.
Q: What if I don’t have a springform pan?
A: A regular 9‑inch pie dish works fine; just press the crust firmly against the sides. To release the pie cleanly, run a thin knife around the edge before removing it from the pan.
Q: How can I make the pie lower in sugar?
A: Reduce the granulated sugar in the filling by 30‑40 g and replace powdered sugar in the whipped cream with a natural sweetener like stevia or erythritol. The chocolate’s inherent bitterness will become more pronounced, so consider adding a tiny splash of vanilla or a pinch of salt to balance.
🎉 Let’s Get Baking!
This Chocolate Pudding Pie with Whipped Cream brings together the comfort of a classic chocolate dessert and the elegance of a modern pastry. Its velvety filling, buttery crust, and airy topping make every bite a celebration of texture and flavor. Whether you’re impressing guests at a dinner party or treating yourself after a long day, this recipe delivers a luxurious experience that’s surprisingly simple to master.
Remember, the key to success lies in precise temperature control, gentle handling of the eggs, and a well‑chilled whipped cream. Feel free to experiment with the variations—add a hint of orange, a dash of spice, or a vegan twist—to make the pie truly your own. Most importantly, enjoy the process and share the joy of chocolate with those you love.
Have you tried this recipe?
Leave a comment and rating below! Share your photos on Instagram with #ChocolatePuddingPie for a chance to be featured on our blog.
Chocolate Pudding Pie with Whipped Cream
A velvety chocolate pudding in a buttery crust, topped with airy whipped cream.
📝 Ingredients
Crust
Chocolate Pudding Filling
Whipped Cream Topping
👨🍳 Instructions
- 1
Preheat oven to 180°C (350°F). Prepare a 23 cm springform pan.
- 2
Mix crust ingredients, press into pan, and bake 10‑12 min.
- 3
Melt chocolate with milk, then combine with egg‑yolk mixture and thicken on the stove.
- 4
Pour pudding into baked crust, cover, and chill 2 hours.
- 5
Whip heavy cream with powdered sugar and vanilla to soft peaks.
- 6
Top the set pudding with whipped cream, garnish with chocolate shavings.
- 7
Slice with a hot, damp knife for clean cuts.
- 8
Serve chilled, optionally with fresh berries or caramel drizzle.
- 9
Store leftovers in an airtight container in the fridge for up to 4 days.
- 10
Enjoy and share your creation with friends!
🥗 Nutritional Information (per serving)
*Nutritional values are estimates based on standard ingredient data.
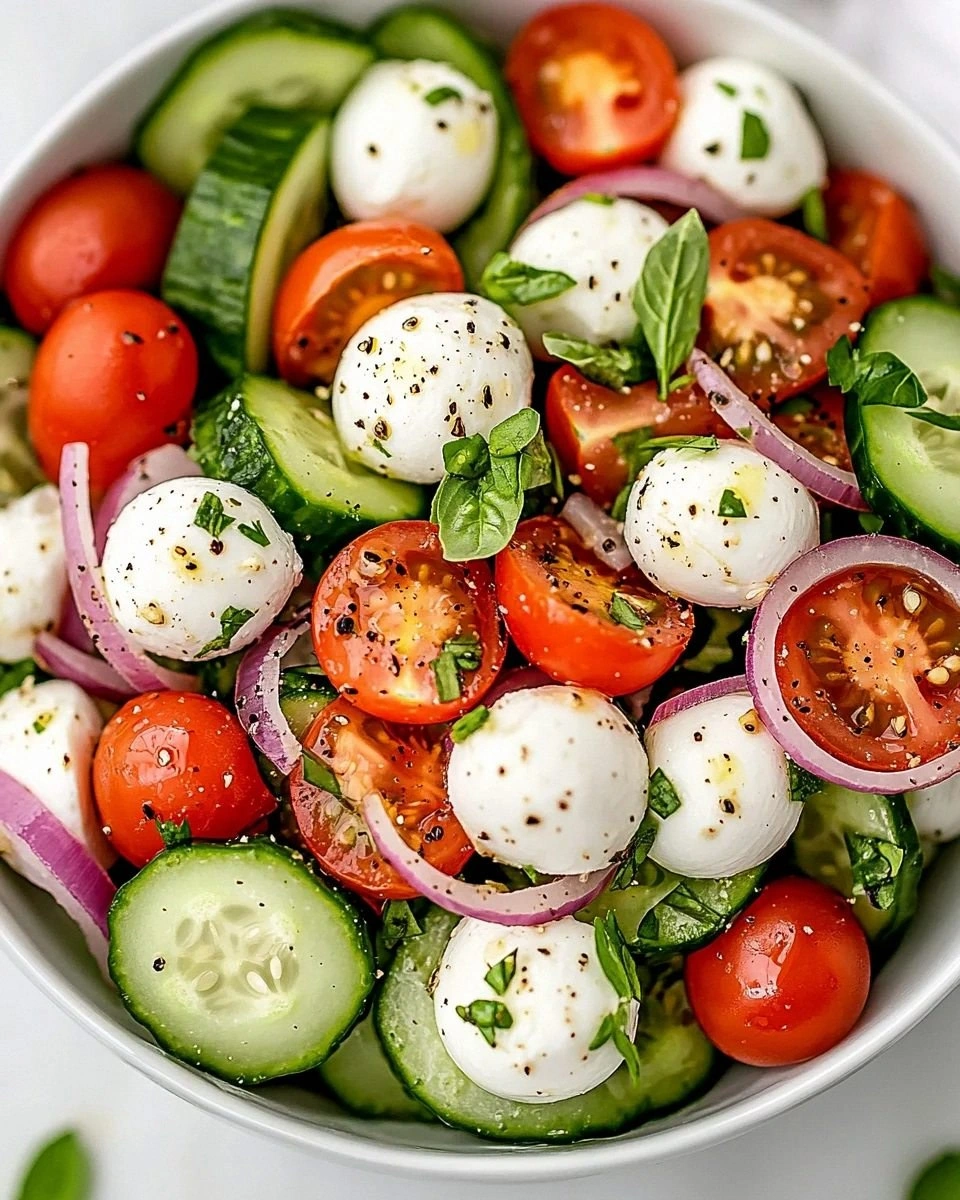
📚 You Might Also Like
Salted Caramel Chocolate Tart
Chocolate Mousse with Raspberry Sauce
No‑Bake Oreo Cheesecake


💬 Comments & Reviews
Leave a Comment
[User comments will appear here]