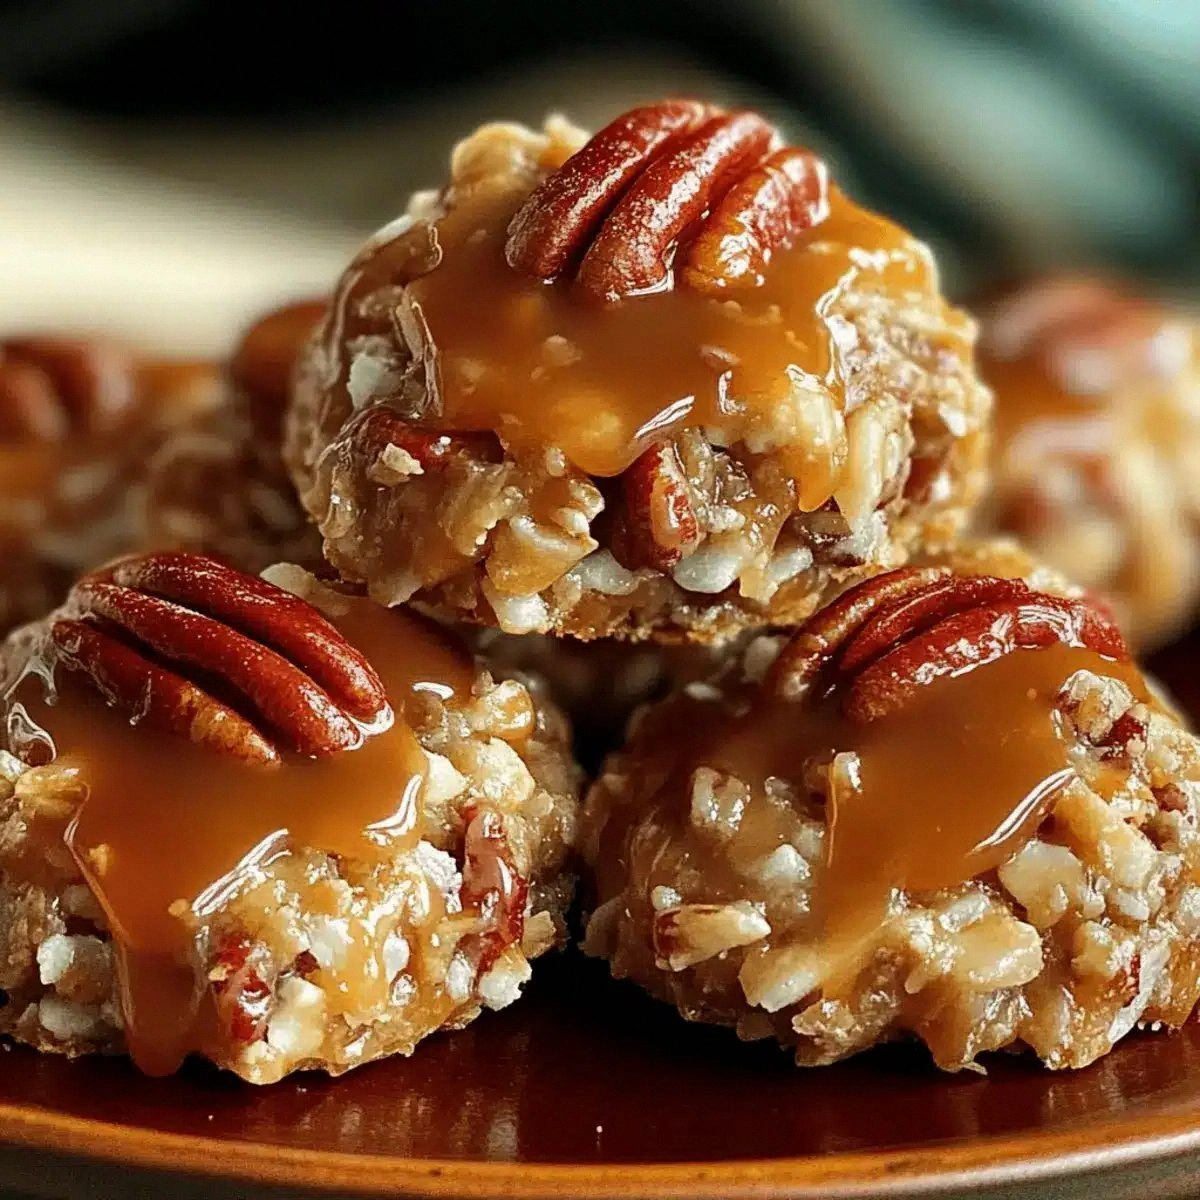
Picture this: I’m standing in a kitchen that smells like burnt sugar, the kind of aroma that makes you question your life choices. I had just tried a batch of chocolate bars that turned out soggy and sticky, and I swear I could still taste the disappointment on my tongue. The next day, my friend dared me to recreate the classic almond‑joy experience at home, and I was determined to beat that dare. I knew I had to find the sweet spot between chewy coconut, nutty crunch, and glossy chocolate—because if you’re going to indulge in a treat that’s practically a hug in a bar, you deserve the best version possible.
When I first opened the pantry, the sweetened flake coconut looked like a cloud of golden snow, its aroma already hinting at tropical bliss. The powdered sugar was pristine white, ready to sweeten without overwhelming. The coconut oil gleamed like a clear lake, promising a silky texture. The dark chocolate was a deep, almost velvety shade of brown that made my mouth water. And the almonds—24 whole, each one a tiny, crunchy mountain—were the final touch that would give the bars their signature bite. I could already hear the gentle clink of the almonds against the pan, feel the smoothness of the coconut mixture, and taste the instant sweetness that would melt in your mouth.
What sets this version apart from the countless recipes that circulate online is the meticulous balance of ingredients and the deliberate techniques that elevate each component. I didn’t just throw everything together; I carefully toasted the coconut to bring out its nutty aroma, I melted the chocolate at a precise temperature to avoid blooming, and I pressed the base firmly to create a sturdy foundation. The result is a bar that is chewy, crunchy, and chocolatey in equal measure—hand‑made perfection that will make you wonder how you ever settled for store‑bought versions.
And the kicker? I’ll be honest—I ate half the batch before anyone else could even touch a bar. But that’s a confession, not a complaint. The secret sauce, if you will, lies in a small tweak that most recipes overlook: a touch of coconut oil that keeps the base moist yet firm, and a methodical cooling process that locks in the chocolate’s glossy finish. I dare you to taste this and not go back for seconds. If you’ve ever struggled with chewy, soggy bars, you’re not alone—and I’ve got the fix. Stay with me here—this is worth it.
What Makes This Version Stand Out
- Flavor: The coconut is toasted just enough to release a warm, nutty aroma that pairs perfectly with the rich chocolate. This depth of flavor is what transforms a simple snack into a gourmet treat.
- Texture: The base is chewy yet firm, thanks to the precise ratio of coconut to sugar and the subtle addition of coconut oil. The almond crunch is the final touch that satisfies the craving for a satisfying bite.
- Ingredient Quality: Using high‑grade, unsweetened coconut flakes and dark chocolate ensures that the bars are not just tasty but also nutritionally balanced.
- Simplicity: No baking, no complicated steps—just a few ingredients, a pan, and a refrigerator. This recipe is a quick win for busy evenings or weekend afternoons.
- Make‑Ahead Potential: The bars hold up beautifully in the fridge or freezer, making them perfect for meal‑prep or as a last‑minute dessert.
- Visual Appeal: The glossy chocolate coating and the golden coconut base create a visual contrast that makes the bars irresistible.
- Scalability: Whether you’re making a single batch or a large tray for a gathering, the measurements scale cleanly without losing flavor or texture.
Inside the Ingredient List
The Flavor Base
Sweetened flake coconut is the heart of this recipe. It brings a subtle sweetness and a chewy texture that acts as a perfect canvas for the chocolate. If you prefer a slightly less sweet bar, you can substitute half the coconut with unsweetened coconut flakes; the texture remains the same, but the flavor profile shifts toward a more tropical, nutty taste. Choosing a brand that has a consistent flake size ensures even distribution throughout the bar.
The Sweetener
Powdered sugar is the sweetener of choice because it dissolves quickly and doesn’t add any grit. It blends seamlessly with the coconut, creating a smooth base that holds the chocolate coating together. If you’re watching your sugar intake, you can replace powdered sugar with a natural sweetener like coconut sugar or a sugar substitute that’s fine for baking, but keep in mind that the texture might change slightly.
The Moisture Agent
Coconut oil is the unsung hero that keeps the base moist without making it greasy. It also helps the coconut flakes bind together, creating a cohesive layer that sets firmly when chilled. A small tip: use a light‑to‑medium coconut oil that has a subtle coconut aroma; it will enhance the overall flavor without overpowering the chocolate.
The Unexpected Star
The dipping chocolate—whether milk or dark—is the glossy finish that turns an ordinary bar into a decadent treat. Dark chocolate adds a slight bitterness that balances the sweetness, while milk chocolate offers a creamier, sweeter finish. For a richer flavor, consider using a chocolate that contains at least 70% cacao; it will add depth and a slightly bitter edge that complements the coconut.
The Final Flourish
Whole almonds provide the crunch that many crave in a bar. Their natural oils keep them from becoming stale quickly, and they add a nutty flavor that pairs beautifully with the coconut. If you prefer a different nut, walnuts or pecans can be used, but the flavor profile will shift accordingly. For a vegan option, simply use a plant‑based chocolate and ensure your almond brand is processed on a separate line to avoid cross‑contamination.
Everything’s prepped? Good. Let’s get into the real action and start building the bars that will become your new favorite treat.

The Method — Step by Step
- First, line a 9‑inch square pan with parchment paper, leaving a little overhang on the sides. This will make removal painless and ensure a clean edge. The parchment also prevents the coconut base from sticking, which is crucial for a smooth finish. Feel the paper’s texture as you lay it out—this simple step sets the foundation for everything that follows.
- In a medium saucepan, combine 3 cups of sweetened flake coconut, 1 cup of powdered sugar, and 0.25 cup of coconut oil. Heat over low, stirring constantly until the coconut oil melts completely and the mixture becomes silky smooth. The gentle heat allows the sugar to dissolve, creating a cohesive base that will hold the chocolate in place. Watch the mixture transform from a dry pile into a glossy, almost liquid layer.
- Once the mixture is smooth, remove it from the heat and pour it into the lined pan. Use a spatula to press the base firmly, smoothing the surface so it’s even. The pressing action compacts the coconut and sugar, ensuring the bars hold together once chilled. Let the mixture cool for a minute or two before moving on to the next step.
- While the base cools, melt 2 cups of your chosen chocolate in a double boiler or a microwave-safe bowl set over a pot of simmering water. Stir constantly until the chocolate is completely melted and silky. Be careful not to overheat; chocolate can seize and become grainy if it reaches too high a temperature.
- Pour the melted chocolate over the coconut base, spreading it evenly with a rubber spatula. The chocolate should pool slightly, creating a glossy top that will harden into a smooth finish. The contrast between the dark chocolate and the golden coconut is not only visually appealing but also enhances the flavor profile.
- Gently press 24 whole almonds into the chocolate layer, spacing them evenly across the surface. The almonds will embed into the chocolate, giving each bar a delightful crunch. If you prefer a different nut, feel free to swap them out—just remember that the size and oil content may affect how they set.
- Refrigerate the pan for at least 2 hours, or until the chocolate has fully set and the coconut base feels firm to the touch. The cooling process is essential; it allows the flavors to meld and the texture to lock in. When you’re ready to cut the bars, lift the entire slab using the parchment overhang, and place it on a cutting board.
- Using a sharp knife, cut the slab into bars of your preferred size. If you’d like to keep the bars uniform, you can use a ruler or a pre‑measured template. Store the bars in an airtight container in the refrigerator for up to a week, or freeze them for longer storage.
That’s it—you did it. But hold on, I’ve got a few more tricks that will take this to another level. From the perfect chocolate bloom to the secret of an extra chewy base, these insider tips will help you master the art of almond joy bars.
Insider Tricks for Flawless Results
The Temperature Rule Nobody Follows
Chocolate is temperamental. If you melt it at too high a temperature, it will seize and become gritty. The trick is to keep it between 86°F and 90°F (30°C‑32°C) for dark chocolate, and slightly lower for milk chocolate. Using a digital thermometer or a simple hand test—touch the chocolate with your finger to feel if it’s warm but not hot—will help you avoid that dreaded white bloom.
Why Your Nose Knows Best
When the coconut base is heating, it will release a sweet, nutty aroma that signals it’s ready. If you notice a faint scent of burnt sugar, reduce the heat immediately. The aroma is a natural indicator that the mixture has reached the ideal texture—smooth, not dry or overly sticky.
The 5‑Minute Rest That Changes Everything
After you press the coconut mixture into the pan, let it rest for 5 minutes before pouring the chocolate. This brief pause allows the coconut to set slightly, preventing the chocolate from sinking into the base. It also gives the sugar time to hydrate, which improves the overall mouthfeel.
Pressing the Almonds Right
When embedding almonds, press them gently but firmly into the chocolate so they’re partially submerged. This creates a perfect bite that’s not too dry. If you prefer a more pronounced crunch, press the almonds deeper, but be careful not to crush them.
Cooling Time Is Key
Many people rush the cooling step, thinking the chocolate will set instantly. In reality, you need at least 2 hours for the chocolate to fully harden and for the coconut base to firm up. Rushing this step results in bars that crumble or have a sticky texture.
Creative Twists and Variations
This recipe is a playground. Here are some of my favorite ways to switch things up:
Coconut‑Infused Almond Joy
Add a tablespoon of toasted coconut oil to the base for an extra coconut kick. The oil will give the bars a richer flavor and a slightly softer texture, making them feel indulgent in every bite.
Dark Chocolate & Almond Crunch
Swap the milk chocolate for a high‑cacao dark chocolate. The bitterness will contrast beautifully with the sweet coconut and crunchy almonds, creating a sophisticated flavor profile.
Nutty Peanut Butter Bars
Replace the whole almonds with roasted peanut butter chips. The creamy texture will melt slightly against the coconut base, giving a new dimension to the bar’s mouthfeel.
Maple‑Sweetened Bars
Replace powdered sugar with maple syrup. The natural sweetness and subtle maple flavor will complement the coconut and chocolate, adding a rustic touch.
Spiced Coconut Delight
Stir a pinch of ground ginger or cinnamon into the coconut mixture. The spices will add warmth and complexity, turning the bars into a comforting treat for cooler evenings.
Almond‑Almond Bliss
Double the almonds to 48 for an extra crunchy experience. The increased nut content will give the bars a more robust texture, perfect for those who love a strong almond flavor.
Storing and Bringing It Back to Life
Fridge Storage
Keep the bars in an airtight container in the refrigerator for up to a week. The cool environment prevents the chocolate from melting while preserving the coconut’s chewy texture. If you notice the chocolate developing a white film, simply wipe it away with a clean cloth; it’s harmless and will not affect the flavor.
Freezer Friendly
For longer storage, wrap each bar individually in plastic wrap and place them in a freezer bag. They’ll stay fresh for up to three months. When you’re ready to enjoy them, let the bars thaw at room temperature for 10‑15 minutes before serving.
Best Reheating Method
If the bars feel a bit hard after refrigeration, warm them in a microwave on 10‑second intervals. A tiny splash of water before reheating creates steam that rehydrates the coconut, bringing back that delightful chewiness. Be careful not to overheat; a quick burst is enough to revive the texture.