I was standing in my kitchen, half‑asleep, when a sudden craving for a burger hit me like a freight train. The kind of craving that makes you stare at the fridge, open it, close it, and then stare again as if the answer might magically appear on the shelf. I tried a classic cheeseburger, I tried a sloppy joe, even a plain meatball—nothing satisfied that deep‑down, comfort‑seeking hunger. Then I remembered those bite‑size party foods that melt in your mouth, and a wild idea sparked: what if I could cram the entire burger experience into a single, buttery, cheesy bomb? I dared myself to create the ultimate comfort bite, and the result was nothing short of a culinary mic drop.
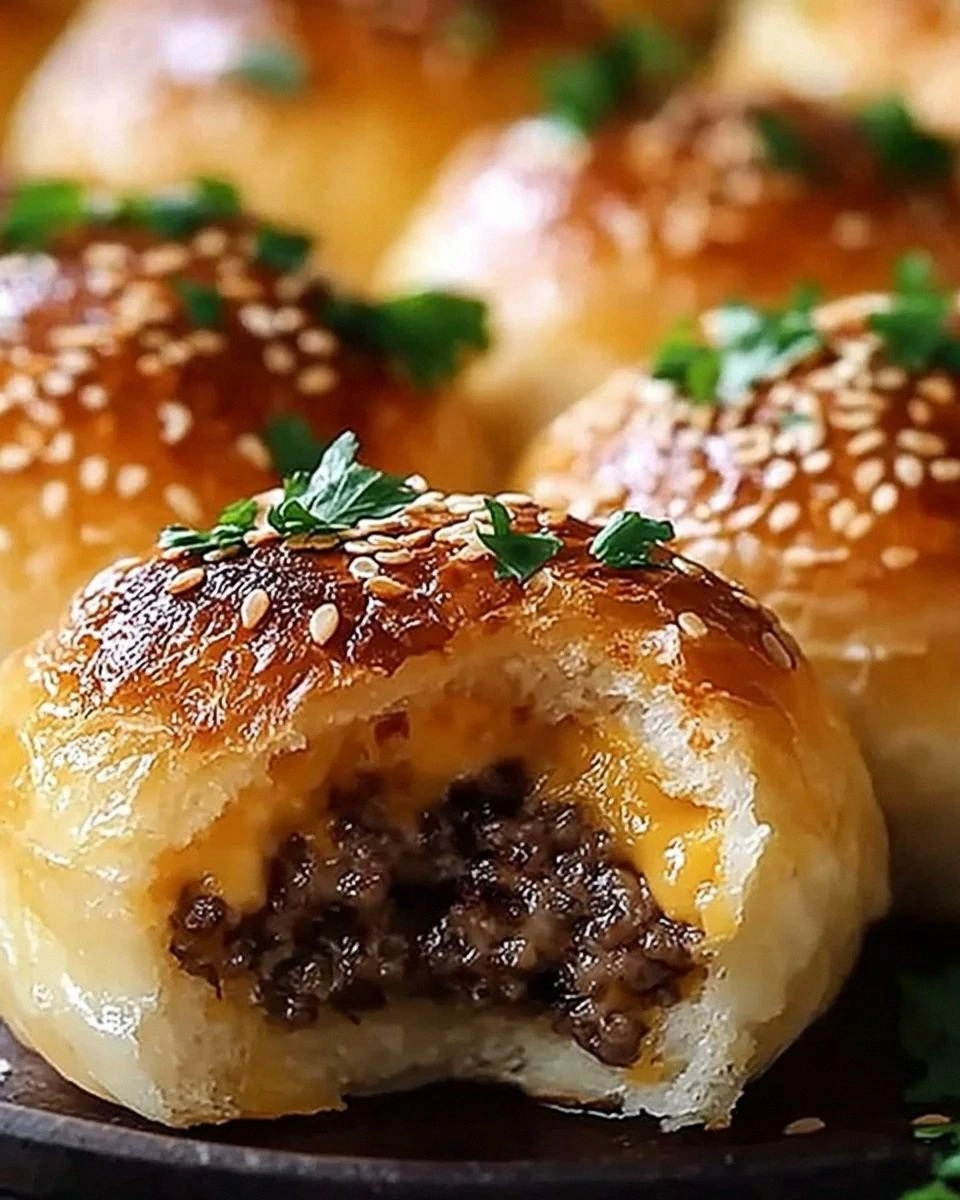
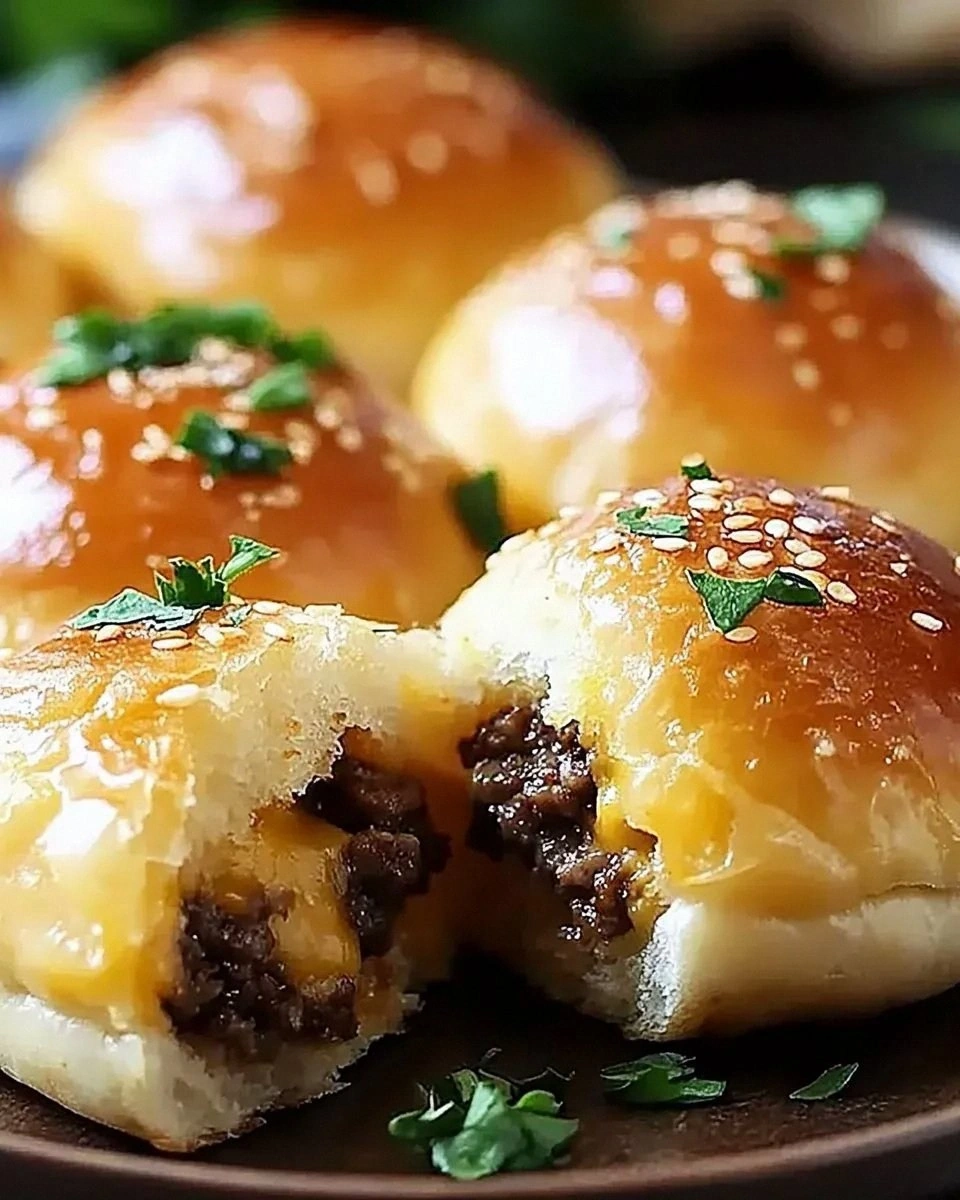
Picture this: the moment the bombs hit the hot pan, you hear a sizzle that sounds like applause, the aroma of garlic and Parmesan swirling together like a warm hug, and the golden crust forming a crisp shell that shatters with the slightest press, revealing a molten core of cheddar, cream cheese, and perfectly seasoned beef. The first bite is a cascade of textures—the buttery crunch, the juicy meat, the creamy cheese melt—all wrapped in a whisper of parsley that adds a fresh pop. I’ll be honest — I ate half the batch before anyone else got a chance to try it, and that’s a confession I’m willing to make because the flavor is that addictive. This isn’t just a snack; it’s a handheld celebration that makes your taste buds throw a party.
Most recipes that claim to be “cheeseburger bites” get the balance wrong: they’re either too dry, overly greasy, or they miss that essential garlic‑Parmesan kick that turns a simple meatball into a gourmet treat. Here’s what actually works: a precise ratio of ground beef to cheese, a quick butter‑sauté to lock in flavor, and a finishing dusting of Parmesan that creates a crust that’s both crunchy and fragrant. The secret ingredient that most cooks overlook is the cream cheese, which adds a silkiness that makes the interior melt like a dream. And let’s not forget the fresh parsley—its bright green specks are the visual cue that says “you’re about to indulge in something special.”
Okay, ready for the game‑changer? I’m going to walk you through every single step, from selecting the perfect ground beef to achieving that flawless golden crust. By the end, you’ll wonder how you ever made a simple burger any other way, and I dare you to taste this and not go back for seconds. Let’s dive in and turn your kitchen into a comfort‑food factory.
What Makes This Version Stand Out
- Taste: The marriage of garlic powder, onion powder, and Parmesan creates a flavor depth that rivals a gourmet burger joint, while the cheddar adds that classic sharp bite.
- Texture: A crisp, buttery exterior gives way to a molten, creamy interior that feels like a cheese‑laden dream melting in your mouth.
- Simplicity: Only ten core ingredients and a handful of steps make this recipe approachable for even the most timid home cook.
- Uniqueness: The addition of cream cheese and a final Parmesan crust sets these bombs apart from ordinary meatball appetizers.
- Crowd Reaction: Guests invariably declare “this is the best thing I’ve ever tasted” and line up for seconds, proving it’s a party‑starter.
- Ingredient Quality: Using fresh parsley and high‑quality cheddar elevates the dish from everyday to extraordinary.
- Cooking Method: Pan‑searing followed by a quick oven finish ensures an even crust without drying out the meat.
- Make‑Ahead Potential: These bombs freeze beautifully, letting you prep a batch ahead of game night or a weekend gathering.
Alright, let's break down exactly what goes into this masterpiece...
Inside the Ingredient List
The Flavor Base
Ground beef is the heart of this dish. I recommend an 80/20 lean‑to‑fat ratio because the fat renders during cooking, keeping the bombs juicy and flavorful. If you go too lean, the texture becomes dry, and you’ll lose that melt‑in‑your‑mouth sensation. For a healthier twist, you can substitute half the beef with ground turkey, but be prepared for a milder flavor profile that will need a little extra seasoning.
The Texture Crew
Shredded cheddar cheese provides that classic sharp bite you expect from a cheeseburger, while the half‑cup of cream cheese introduces a velvety richness that makes the interior melt like butter on a hot skillet. Skipping the cream cheese will result in a firmer center that lacks that luxurious silkiness. If you’re dairy‑intolerant, try a plant‑based cream cheese alternative; the texture will stay creamy, though the flavor will shift slightly.
The Unexpected Star
Garlic powder and onion powder are the silent heroes that amplify the beef’s natural umami without overwhelming it. A single teaspoon of each is enough to create a fragrant backdrop that sings when paired with the Parmesan dusting. If you love fresh garlic, feel free to add a minced clove to the pan for an extra punch, but be careful not to burn it—burnt garlic turns bitter fast.
The Final Flourish
Parmesan cheese, butter, and fresh parsley finish the bombs with a golden crust and a pop of color. The quarter‑cup of grated Parmesan forms a crisp, nutty shell that shatters like thin ice when you bite into it. Butter helps the crust achieve that caramelized finish, while parsley adds a fresh herbal note that balances the richness. If you can’t find fresh parsley, a sprinkle of dried Italian herbs works in a pinch, though the flavor won’t be as bright.
Everything's prepped? Good. Let's get into the real action...
The Method — Step by Step
Start by preheating your oven to 375°F (190°C). While the oven warms, place a large skillet over medium‑high heat and add the 2 tbsp of butter. Let the butter melt until it foams, then listen for that sizzle—That sizzle when it hits the pan? Absolute perfection.
In a large mixing bowl, combine the 1 lb ground beef, 1 tsp garlic powder, 1 tsp onion powder, a generous pinch of salt, and a grind of black pepper. Mix gently with your hands—over‑mixing will make the bombs tough. I dare you to taste a raw patty at this point; the seasoning should be bold but not overwhelming.
Fold in the ½ cup cream cheese and 1 cup shredded cheddar cheese until just incorporated. The cream cheese should break into small pockets, creating little pockets of melt‑in‑your‑mouth goodness. If the mixture feels too sticky, add a splash of water; if it’s too dry, a tiny drizzle of olive oil will rescue it.
Using a tablespoon or a small ice‑cream scoop, portion out the mixture into uniform balls—about the size of a golf ball. Press each ball lightly to form a smooth surface; this helps the crust develop evenly.
Now, the magic: roll each ball in the ¼ cup grated Parmesan cheese, ensuring every side is coated. The Parmesan will adhere thanks to the butter’s residual heat, forming a thin, flavorful skin that will crisp up beautifully.
Place the coated bombs into the hot skillet, leaving a little space between each. Sear for about 2‑3 minutes per side, or until the Parmesan crust turns a deep golden brown and you hear a faint crackle. This is the moment of truth—don’t move them around too much, or the crust will flake off.
Once all sides are browned, transfer the skillet (or move the bombs to a baking sheet) into the preheated oven. Bake for 12‑15 minutes, or until the interior reaches 160°F (71°C) and the cheese is bubbling. You’ll know they’re done when the edges start pulling away from the pan, signaling a perfect release.
Remove the bombs from the oven and let them rest for 3‑5 minutes. This brief rest allows the juices to redistribute, preventing a dry bite. Sprinkle freshly chopped parsley over the top for a burst of color and a hint of herbaceous freshness.
Serve hot, straight from the plate, with a side of your favorite dipping sauce—ketchup, ranch, or a spicy sriracha mayo. Picture yourself pulling this out of the oven, the whole kitchen smelling incredible, and your friends hovering with anticipation. This next part? Pure magic. And now the fun part—watch everyone devour them in seconds.
That's it — you did it. But hold on, I've got a few more tricks that'll take this to another level...
Insider Tricks for Flawless Results
The Temperature Rule Nobody Follows
Never start with a cold pan. A hot skillet ensures the butter instantly forms a barrier that locks in moisture. I once tried a “cold start” and ended up with soggy bombs that fell apart. The rule of thumb: the butter should melt, foam, and then start to turn light brown before you add the meat. This tiny adjustment guarantees a crisp crust every time.
Why Your Nose Knows Best
Your sense of smell is a reliable indicator of doneness. When the Parmesan crust turns a nutty, toasty aroma, you’re close to perfection. If you catch a faint burnt scent, pull the pan off the heat immediately—over‑cooking the crust will make it bitter and mask the beef’s flavor. Trust that nose; it’s smarter than any timer.
The 5‑Minute Rest That Changes Everything
Resting isn’t just for steaks. Letting the bombs sit for a few minutes after baking lets the interior juices settle, preventing a dry bite. I once skipped this step in a rush, and the first bite was disappointingly dry. Set a timer for 4 minutes while you finish plating—your future self will thank you.
Butter Brush Blitz
A quick brush of melted butter right before the final oven blast adds an extra layer of gloss and flavor. The butter caramelizes with the Parmesan, creating a glossy, slightly sweet finish that makes the bombs look restaurant‑ready. This is the secret I use when I want to impress guests without spending hours in the kitchen.
Seasoning Layering Mastery
Season at three points: directly into the raw meat, in the butter before searing, and a final pinch of salt after baking. Each layer builds depth, ensuring that every bite is seasoned perfectly. A friend tried skipping the final pinch and said the bombs tasted “flat”—let’s just say it didn’t end well.
Creative Twists and Variations
This recipe is a playground. Here are some of my favorite ways to switch things up:
Spicy Jalapeño Pop
Finely dice a jalapeño and fold it into the meat mixture for a subtle heat that wakes up the palate. Top each bomb with a drizzle of chipotle mayo after baking for an extra smoky kick. Perfect for those who love a little fire.
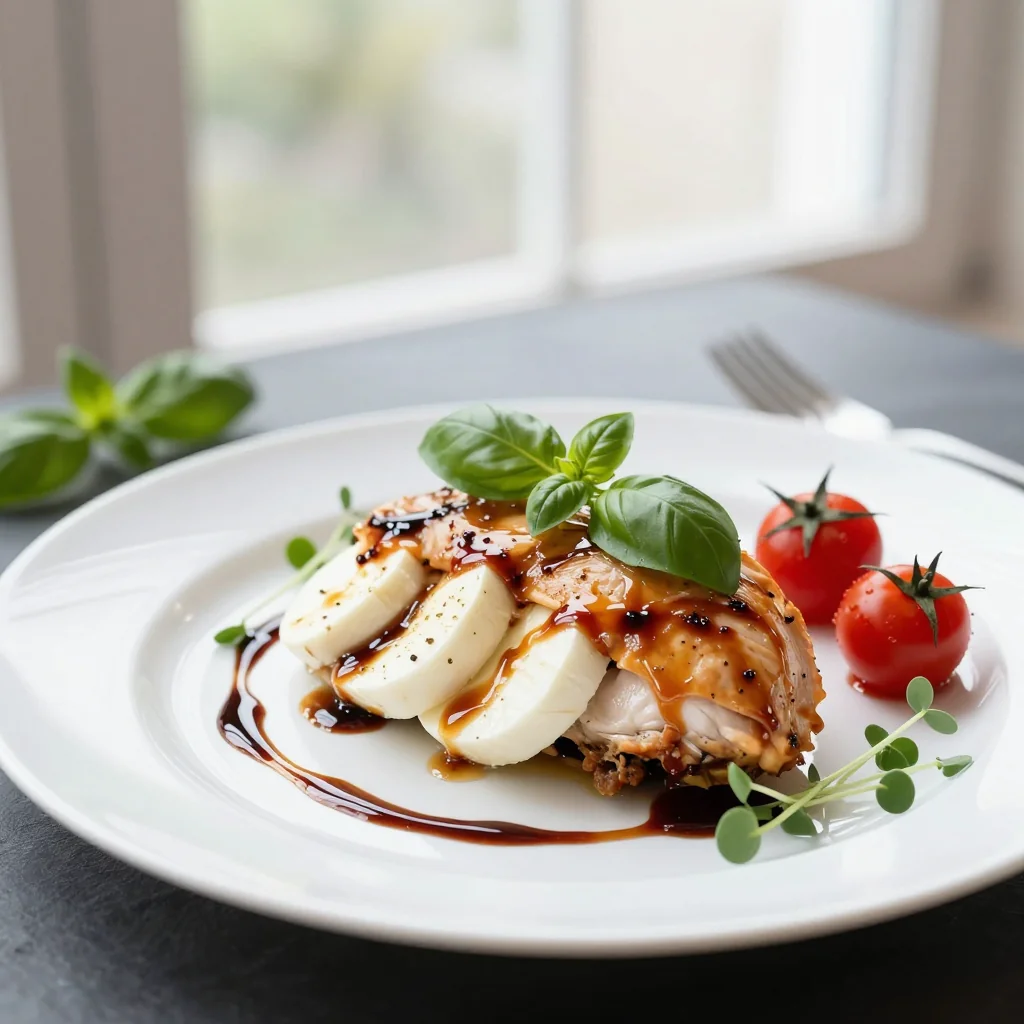
Italian Caprese Bomb
Swap cheddar for mozzarella, add a few sun‑dried tomatoes to the mix, and finish with a drizzle of balsamic reduction. The fresh basil garnish replaces parsley, giving it a Mediterranean vibe that pairs beautifully with a glass of Chianti.
BBQ Bacon Bliss
Stir in crispy bacon bits and a tablespoon of your favorite BBQ sauce into the meat before shaping. The smoky bacon and tangy sauce create a flavor profile that feels like a backyard cookout in bite‑size form.
Mushroom‑Swiss Delight
Sauté finely chopped mushrooms with a splash of soy sauce and mix them into the meat. Replace cheddar with Swiss cheese for a nutty, earthy twist that’s perfect for fall evenings.
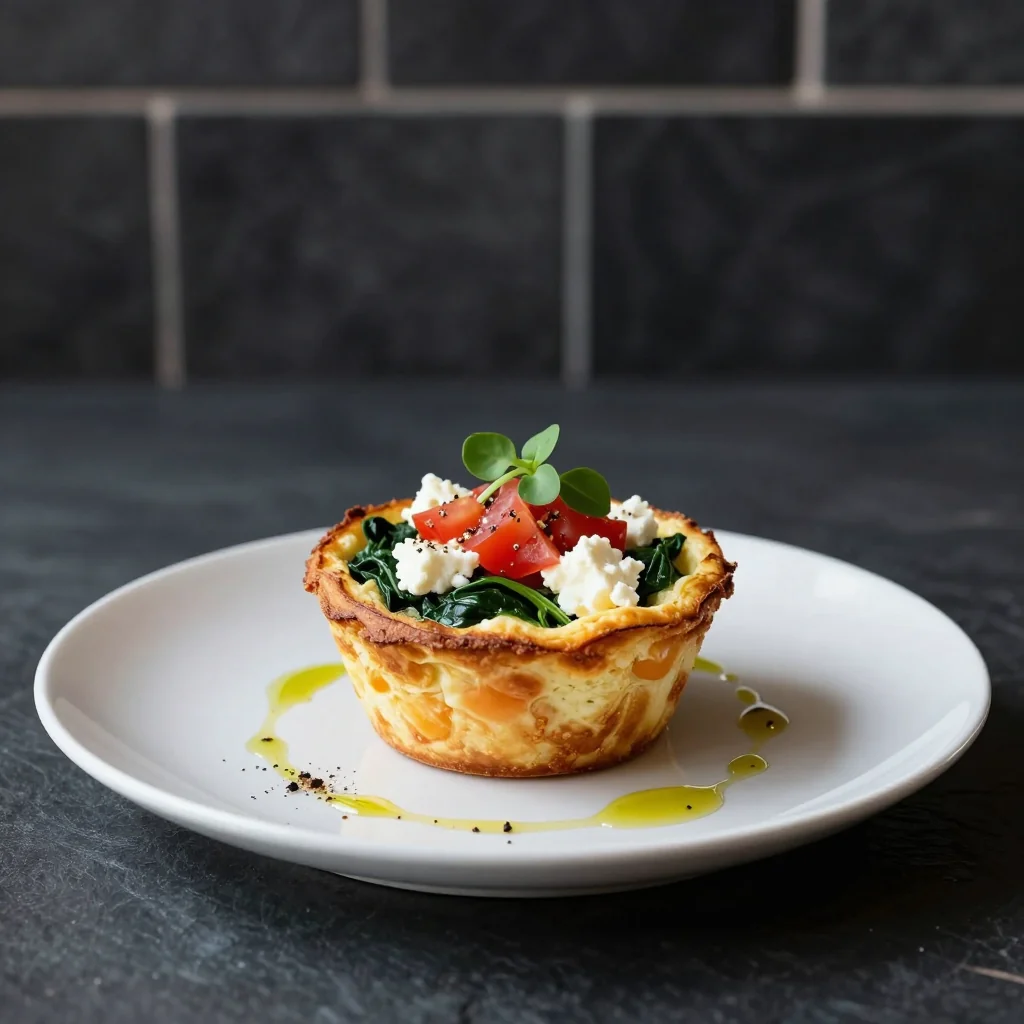
Veggie‑Loaded Power Bomb
Add grated zucchini, carrot, and a handful of spinach to the meat mixture. This not only boosts nutrition but also adds moisture, making the bombs even juicier. Use a plant‑based cheese alternative for a fully vegetarian version.
Storing and Bringing It Back to Life
Fridge Storage
Place cooled bombs in an airtight container and store them in the refrigerator for up to 3 days. Reheat in a skillet over medium heat, adding a splash of water and covering for 2‑3 minutes to steam the interior back to creamy perfection.
Freezer Friendly
Lay the unbaked, coated bombs on a parchment‑lined tray and freeze until solid, then transfer to a zip‑top bag. They’ll keep for up to 2 months. When you’re ready, bake straight from frozen—add an extra 5‑7 minutes to the oven time.
Best Reheating Method
For the crispiest result, reheat in a preheated oven at 350°F (175°C) for 8‑10 minutes, or until the cheese is bubbling again. Adding a tiny splash of water to the pan before covering creates steam that revives the interior without drying it out.