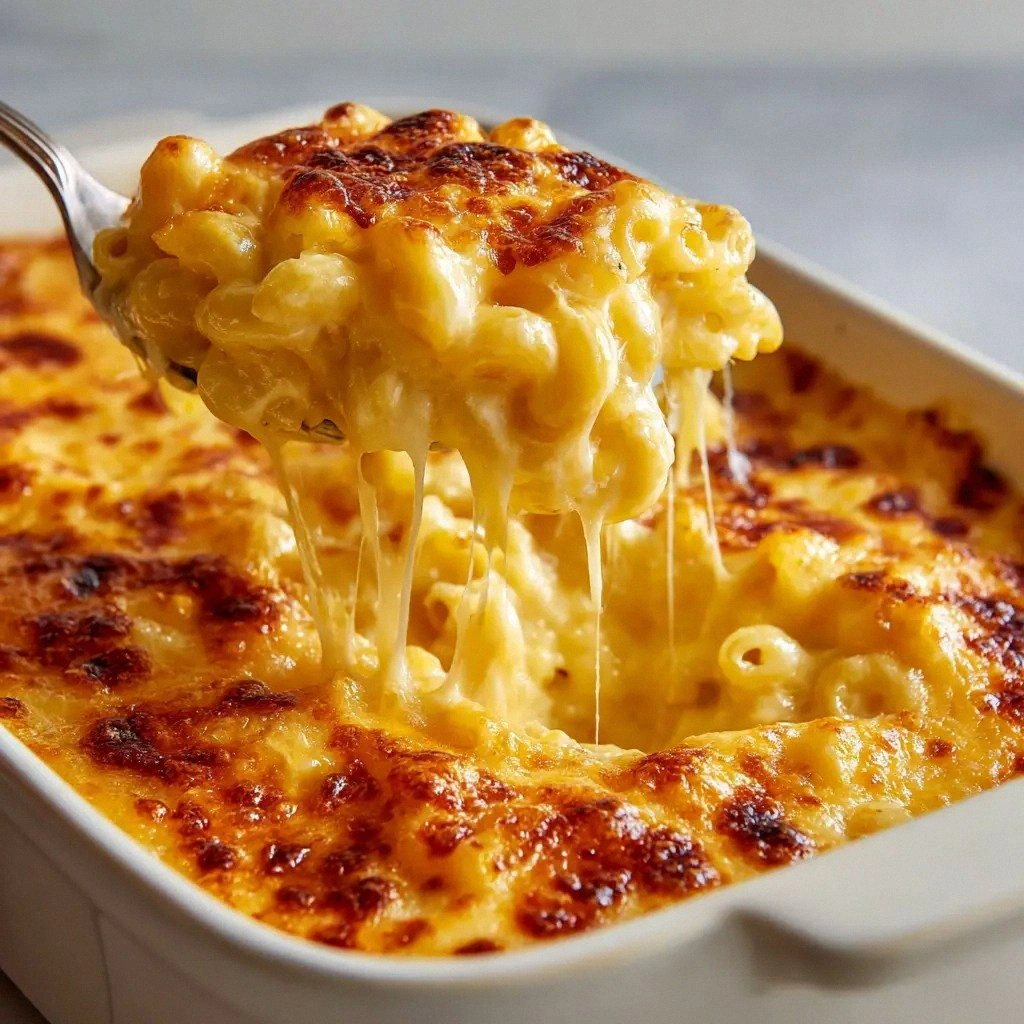
I was staring at the empty fridge, the kind of night when your brain goes on a wild scavenger hunt for comfort food. I wanted something that would make my taste buds sing and my family think I had a culinary secret. Then, a friend dared me to recreate the legendary Chick‑fil‑A mac‑and‑cheese in my own kitchen, and I accepted without hesitation. The result? A dish that feels like a hug in a bowl, with a sauce that coats each noodle like velvet and a golden crust that shatters like thin ice. If you’ve ever tried a mediocre version and sighed, this is the antidote you’ve been craving.
Picture this: the moment you open the pot, the aroma of melted cheese and butter floods the air, mingling with the faint, comforting scent of toasted flour. Your eyes catch the golden bubbles forming on the surface, and you hear that satisfying sizzle that signals the sauce is on the brink of perfection. The texture—creamy, yet firm enough to hold its shape—creates a delightful contrast against the tender elbow macaroni. Every bite delivers a burst of umami, a subtle kick of mustard, and a whisper of paprika that lingers on the palate. I dare you to taste this and not go back for seconds.
What sets this version apart is that it’s not just a copycat; it’s an evolution. I’ve stripped away the fluff and added depth with a roux that’s richer than the original, a blend of cheeses that melts into a silky sauce, and a finishing touch of parmesan that adds a nutty finish. The technique of simmering the sauce to the exact temperature ensures that the cheese emulsifies perfectly, preventing the dreaded greasy bite that plagues many attempts. It’s hands down the best version you’ll ever make at home, and if you’ve ever struggled with this, you’re not alone — I’ve got the fix.
Stay with me here — this is worth it. I’ll walk you through every single step, from selecting the finest elbow macaroni to the final sprinkle of paprika. By the end, you’ll wonder how you ever made it any other way. Picture yourself pulling this out of the oven, the whole kitchen smelling incredible, and a crowd of hungry friends lining up for a second helping. Let’s dive in and turn a simple dish into a masterpiece.
What Makes This Version Stand Out
- Flavor: The cheese blend delivers a layered profile—melted American for smoothness, sharp cheddar for bite, and parmesan for depth. The dry mustard powder adds a subtle earthiness that sets it apart from the plain, creamy versions you see on menus.
- Texture: A roux-based sauce gives the dish a silky mouthfeel while keeping the pasta firm. The golden crust that forms on top is crisp, yet the interior remains creamy, creating a satisfying contrast.
- Simplicity: Only ten ingredients, none of them exotic, mean you can whip this up on a weeknight. The method is straightforward, with clear temperature cues and a single baking step.
- Uniqueness: The addition of paprika and dry mustard powder gives this mac a signature flavor that you won’t find in standard copycats.
- Crowd Reaction: Friends and family rave about the creamy texture and the perfectly balanced cheese. It’s the kind of dish that becomes a staple at gatherings.
- Make‑Ahead Potential: This recipe keeps its integrity when refrigerated or frozen. A quick reheat with a splash of milk restores its silky sauce.
Alright, let's break down exactly what goes into this masterpiece.
Inside the Ingredient List
The Flavor Base
Elbow macaroni is the hero of this dish, its shape holding the sauce like a loyal soldier. Choosing a brand with a slightly rough exterior ensures it doesn’t become mushy during baking. If you’re short on time, you can use a quick‑cooking pasta, but the classic elbow offers the best texture. Skipping the pasta is not an option; it’s the foundation that carries all the flavors.
The Texture Crew
Unsalted butter and all‑purpose flour form the roux that thickens the sauce. The butter’s richness gives depth, while the flour neutralizes acidity and creates a smooth base. If you substitute margarine, the sauce will taste flat and may separate. A pinch of salt to taste is essential, but the kosher salt in the recipe provides a clean, unobtrusive seasoning.
The Unexpected Star
Dry mustard powder is the secret weapon that adds an unexpected kick. It’s subtle enough not to overpower the cheeses yet strong enough to give the sauce a memorable bite. If you don’t have mustard powder, a dash of Dijon can work, but the flavor profile will shift. Remember, mustard is potent; too much and you’ll lose the creamy balance.
The Final Flourish
Paprika brings a gentle smokiness and a pop of color that makes the dish visually appealing. It also enhances the overall umami without adding heat. The combination of yellow American, sharp cheddar, and parmesan creates a cheese medley that melts into a velvety sauce. If you prefer a milder taste, reduce the cheddar by an ounce; the sauce will still be creamy but less sharp.
Everything's prepped? Good. Let's get into the real action.
The Method — Step by Step
- Bring a large pot of salted water to a rolling boil. Add the elbow macaroni and cook for 7 minutes, or until al dente. Drain and set aside; the pasta should still have a slight bite. This step prevents the noodles from becoming mushy during baking.
- In a medium saucepan, melt the butter over medium heat. Once the butter is foamy, sprinkle in the flour and whisk continuously. Cook for 2 minutes, watching for a light golden hue. This creates the roux that will thicken the sauce.
- Gradually pour in the whole milk while whisking to avoid lumps. Stir until the mixture thickens to a custard-like consistency. This step is crucial; a thin sauce will not coat the pasta properly.
- Add the heavy cream and stir until fully incorporated. The cream adds richness and helps the cheeses melt evenly. Let the sauce simmer for 3 minutes, then remove from heat.
- Fold in the yellow American cheese first, ensuring it melts into a smooth base. Then add the sharp cheddar, stirring until fully integrated. Finally, stir in the parmesan for that nutty finish.
- Season the sauce with kosher salt, dry mustard powder, and paprika. Taste and adjust; the mustard should be noticeable but not overpowering. The paprika will give the top a golden sheen.
- Combine the drained pasta with the sauce in a large mixing bowl. Toss until every noodle is coated. The sauce should be thick enough to cling to the pasta without dripping.
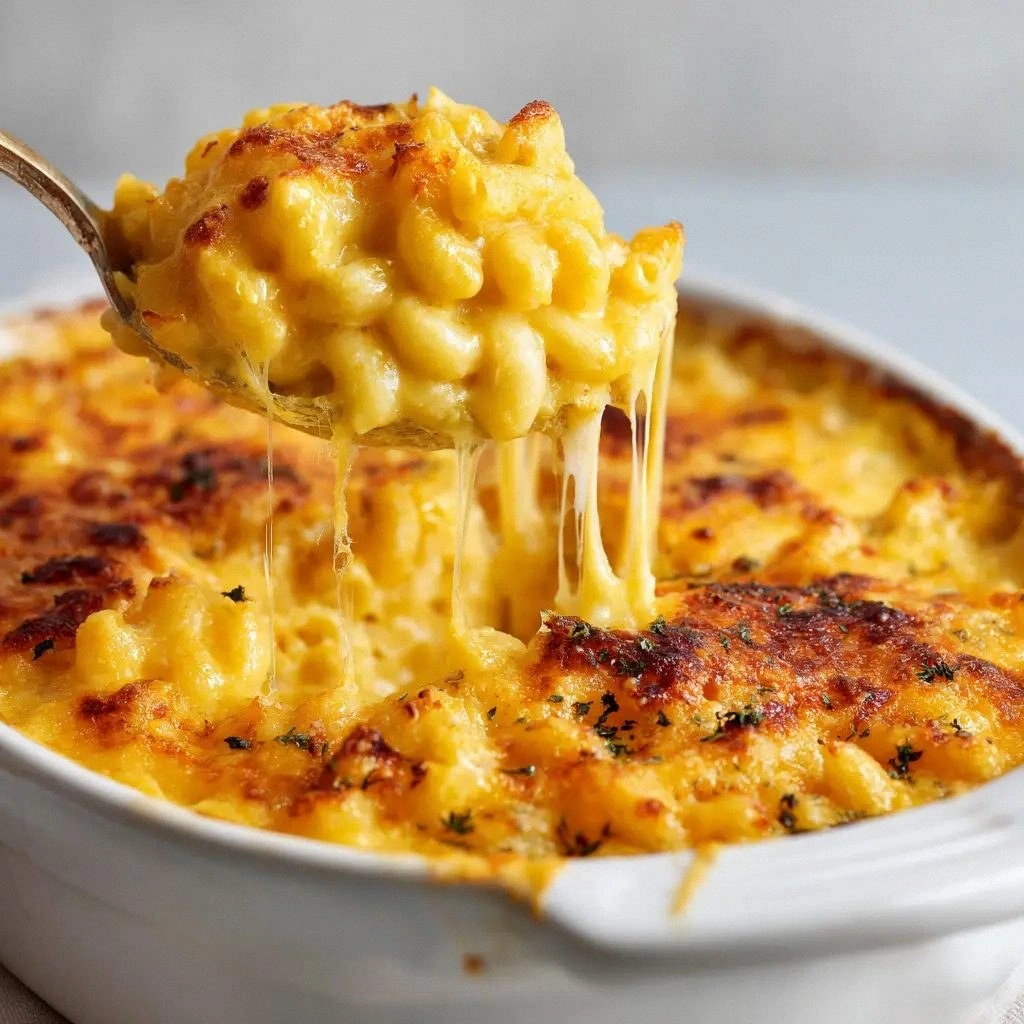
- Transfer the mixture to a greased baking dish. Sprinkle a final layer of cheddar on top for a crisp crust. Bake at 375°F (190°C) for 20 minutes, or until the top is golden brown and the edges start pulling away.
That's it — you did it. But hold on, I've got a few more tricks that'll take this to another level. The next section will show you how to elevate the dish with insider tips.
Insider Tricks for Flawless Results
The Temperature Rule Nobody Follows
Many cooks skip measuring the sauce’s temperature, leading to a greasy mess. Use a kitchen thermometer to ensure the sauce reaches 170°F before adding the cheeses; this guarantees a smooth melt. If you don’t have a thermometer, watch for the first tiny bubbles that appear as the sauce thickens.
Why Your Nose Knows Best
When the cheese starts to melt, the aroma will intensify. Trust that scent as a cue that the sauce is ready. A strong, buttery smell means the roux is properly cooked, while a sharp, metallic smell indicates you need more time.
The 5‑Minute Rest That Changes Everything
After baking, let the mac sit for 5 minutes before serving. This allows the sauce to set, preventing it from sliding off the plate. It also gives the flavors time to meld, resulting in a more cohesive bite.
Use a Grater, Not a Box
Grating the cheeses fresh gives a finer texture that melts faster and evenly. Pre‑shredded cheese can contain additives that hinder melting, leading to a gritty mouthfeel.
Keep the Sauce Warm
If you’re serving the dish to a crowd, place the baking dish on a low‑heat warming tray. This keeps the sauce from cooling and becoming thick again, preserving its creamy texture.
Don’t Forget the Crunch
For a textural contrast, sprinkle toasted breadcrumbs over the top before serving. The crunch will break the creamy surface, creating a satisfying bite that delights everyone.
Creative Twists and Variations
This recipe is a playground. Here are some of my favorite ways to switch things up:
Chicken & Bacon Fusion
Add shredded rotisserie chicken and crumbled bacon to the pasta before baking. The protein boost turns this into a hearty entrée that pairs perfectly with a side of roasted veggies.
Vegan Version
Replace the butter and milk with plant‑based alternatives, and swap the cheeses for a vegan cheddar blend. The result is a creamy, dairy‑free mac that still delivers on flavor.
Spicy Jalapeño Kick
Dice fresh jalapeños and fold them into the sauce before baking. The heat adds an exciting dimension that pairs well with a cool avocado salsa.
Herb‑Infused Delight
Stir in chopped fresh thyme or rosemary into the sauce. The herbal notes elevate the dish into a gourmet experience suitable for dinner parties.
Breakfast Mac & Cheese
Serve the mac with a side of scrambled eggs and a drizzle of maple syrup. The sweet and savory combo transforms it into a comforting breakfast treat.
Storing and Bringing It Back to Life
Fridge Storage
Cool the mac completely, then transfer to an airtight container. Store in the refrigerator for up to 3 days. When ready to serve, reheat over low heat, adding a splash of milk to restore creaminess.
Freezer Friendly
Pack the mac in a freezer‑safe container and label with the date. It will keep for up to 2 months. Thaw overnight in the refrigerator before reheating.
Best Reheating Method
Reheat in a saucepan over low heat, stirring frequently. Add a tablespoon of water or milk per cup of mac to keep the sauce from drying out. The tiny splash of liquid steams the dish back to perfection.